The Squish Test: Getting Winter Makes Truly Dry in a Cold Flat

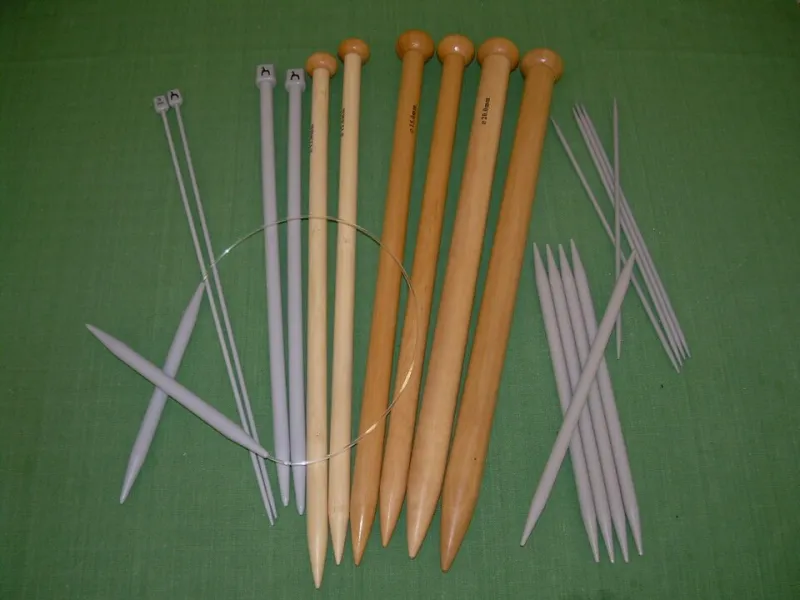
Photo: CEphoto, Uwe Aranas, CC BY-SA 3.0, via Wikimedia Commons
Every November, the same quiet disaster unfolds on kitchen tables across the UK. You finish a make on Sunday, plan to wrap it on Monday, and by Wednesday the varnish is still lifting your fingerprints. The glue has developed a skin but no grip. The painted edge feels dry until you press it, and then it gives that faint, horrible tack.
Winter crafting in a British flat is not just about cold hands. It is about moisture, airflow and the places we instinctively put wet things to dry. Here is how to stop a small drying problem turning into a wrapped gift with a sticky secret.
Why winter makes drying harder
Most craft glues, paints and varnishes dry by losing something. Water-based products need the water to evaporate. Solvent-based products need the solvent to leave. Both processes slow down when the air is cold and damp, and both get worse when there is no airflow.
A British flat in November is often a perfect storm. The heating clicks on for an hour in the morning, then off again. Kettles, showers and laundry add moisture to the air. Single-glazed windows collect condensation. If you dry a make in that environment, the surface may feel set while the middle is still soft.
The two places beginners reach for first are often the worst. A radiator warms the outside of a glued joint or painted coat, which can skin over and trap moisture underneath. It can also warp thin card and make air-dry clay crack. A windowsill is colder than the rest of the room, so condensation forms right where your make is sitting. Both give the illusion of drying while quietly slowing it down.
Fix one: build a drying shelf, not a drying corner
You do not need a studio. You need a flat, dust-free spot with air above and below. A wire cooling rack is ideal because it lets air reach the underside. If you are drying small pieces, put the rack inside a clean cardboard box with a few holes punched in the sides. The box keeps dust and cat hair off; the holes stop it becoming a little damp cave.
Do not seal the box. Do not use a plastic storage tub with the lid on. Air needs to move. If you are short on space, the top of a wardrobe or a shelf above head height is often better than the floor, where cold air pools and dust settles.
Line the shelf with baking parchment rather than newspaper. Newsprint can transfer ink to damp clay or painted edges, and nobody wants a handmade gift with yesterday's headlines on the back.
Fix two: move away from radiators and glass
This is the hardest habit to break because radiators and windowsills look like drying places. They are not. Keep makes at least a metre away from radiators, and do not leave them on windowsills overnight. If you need to ventilate a steamy kitchen or bathroom, open the window for ten minutes, then close the door and let the room settle before putting your make back in.
A dehumidifier in a small room can help, but it is not essential. A brief burst of ventilation after cooking or showering does more than leaving a window cracked all day in the cold. If you have an airing cupboard, resist it. The warmth feels helpful, but the lack of airflow and the damp towels in there are not.
Fix three: apply thinner coats
A thick puddle of glue or varnish is not a shortcut. It is a skin waiting to form over a soft centre. Two thin coats, with the recommended waiting time between them, will dry more reliably than one generous one. For glue, less is usually more: press the pieces together, wipe the squeeze-out, and let the joint sit undisturbed.
Read the label for the full cure time, not just the touch-dry time. Touch-dry means you can brush past it. It does not mean it is ready to be stacked, wrapped or posted.
Fix four: give the air somewhere to go
A small desk fan on the lowest setting, placed across the room rather than blasting the make, can make a surprising difference. So can simply leaving gaps between pieces instead of drying them shoulder to shoulder. Do not stack flat things. Do not hang wet makes over the back of a chair where they will press against fabric.
If you are drying several small gifts, use a spare shelf or a tray with spacers between items. Think of it as giving each make its own breathing room, not as creating a display.
Fix five: use the squish test
Before you wrap anything, test a hidden area. Press a scrap of baking parchment over the back or underside of the make, put a coin on top and leave it for ten seconds. Peel the paper away. If it sticks, lifts a mark or feels tacky, the make is not ready. If it comes away clean and the surface feels firm rather than cool and soft, you are closer.
For solvent-based glues and varnishes, smell is another clue. A strong solvent smell means it is still curing. For water-based products, do not trust the cool-to-the-touch feeling. Cold surfaces can feel dry when they are not.
The wrap-ready check
A handmade gift is ready to wrap when it passes three checks: the squish test leaves no mark, the edges and joints feel firm, and there is no strong chemical smell. If you are posting it, add an extra day. Winter parcels sit in cold vans and damp sorting offices, and a gift that was borderline dry at home can arrive tacky.
When in doubt, wait. A day on the drying shelf costs nothing. Unwrapping a sticky handmade present costs a lot more, especially when you have spent the evening telling everyone how easy it was to make.