The Unfinished Shelf: How to Retire a Beginner Craft Kit Without Guilt
Every beginner craft kit starts with a promise. The box shows a neat little finished object, the instructions look friendly enough, and you can already picture yourself curled up with a cup of tea, calmly making something lovely. Then life happens. A work deadline lands, the spare room gets tidied by shoving things into it, and the kit settles into that familiar spot on the shelf. Now it is a grey November, and the box is still there, quietly judging you.
Here is the first useful thing to hear: the kit is not a contract. You are allowed to finish it, pause it, pass it on or break it up for parts. Letting a hobby go — or simply admitting that this particular kit was not the one — is not the same as failing at making. Most crafters have a shelf like this somewhere. The trick is to stop treating it as a moral problem and start treating it as a small practical decision.
Start with an honest shelf audit
Before you decide anything, take everything down. Not in a dramatic way; you are not staging an intervention for yourself. Just put the kits, half-used supplies and stray instruction sheets on the table and look at them properly.
Ask three simple questions about each one:
- When did I last open this?
- What would I actually make with it?
- Does looking at it make me feel curious or heavy?
That last question matters more than it sounds. A kit that makes you feel heavy every time you see it is not a relaxing hobby. It is a small chore wearing a crafty hat. If the answer is heavy, you have permission to deal with it.
Separate the project from the story
Most of the guilt around unfinished kits comes from the story we attach to them. I bought this, so I should use it. I started this, so I should finish it. I am a creative person, so I should enjoy this.
Try swapping those shoulds for something more useful. You tried a thing. You learned whether you liked it. That is information, not waste. A beginner kit is allowed to be a short experiment. Some people discover a lifelong love of crochet or lino printing; others discover that tiny fiddly stitches make them want to lie down. Both are valid outcomes.
If you are unsure whether to keep going, look for the real blocker. Is the kit missing a tool? Is one step confusing? Are the instructions written for someone with three more pairs of hands? Sometimes the fix is as small as watching a different tutorial or buying a single inexpensive needle. If the blocker is solvable, finish it in short bursts. If it is not, move on.
Option one: finish it small
If you are close to the end, or the project only needs one more push, try a deliberately small finish. Set a twenty-minute timer. Skip the perfectionist details. Make the thing wobbly and call it done. A slightly lumpy handmade object still has more charm than a perfect kit that never leaves the box.
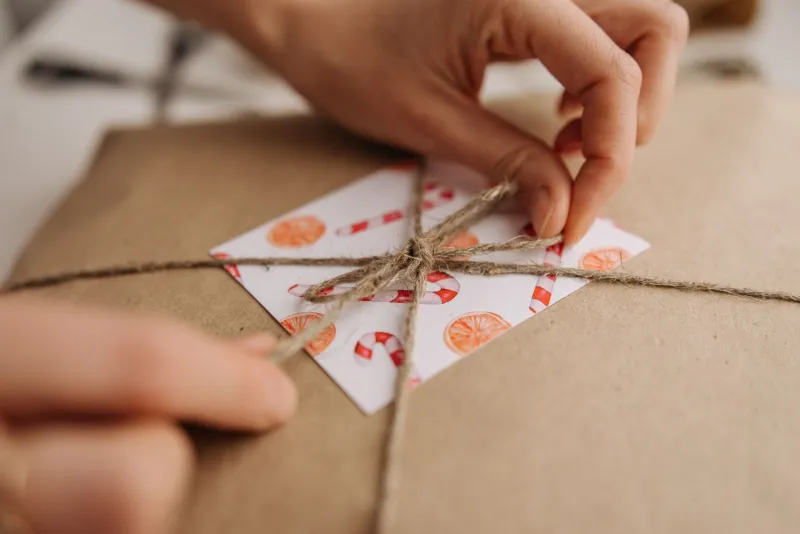
You could also reframe the finish line. Maybe the kit does not need to become the exact item on the front of the packet. Could it become a gift tag, a small patch, a practice piece or a donations-box item? A finished wobbly make is often more useful than an unfinished ambitious one.
Option two: pause it properly
Pausing is different from letting a kit slowly dissolve into the shelf. A proper pause has a label and a date. Put all the supplies, instructions and any part-made pieces into one clear bag or box. Write on it: Paused, plus the month and a realistic review date. Three months is usually enough. Then put it somewhere sensible — not under a pile of coats, not in the damp cupboard, and not on the chair you use every day.
For UK flats and small homes, keep paused kits by material rather than by project where possible. Yarn with yarn, paper with paper, tools with tools. Damp is the enemy of fabric, paper and wooden tools, so avoid the coldest external wall if you can. A simple lidded box is fine. You do not need to buy a storage system for a hobby you are not sure about.
When the review date arrives, look at the box once. If you have not missed it, pass it on. That is not a punishment. It is shelf space coming back to you.
Option three: pass it on
There are plenty of UK routes for a kit that needs a new home, but a little checking goes a long way. Charity shops vary in what they can accept. Call ahead before turning up with opened glues, paints, sharp tools or half-used chemicals. Many shops are happy with clean yarn, fabric, unused kits, buttons, paper and craft books, but they may say no to opened liquids or anything that looks messy.
Local craft swaps are worth seeking out. Community centres, libraries, WI groups, church halls and makers' groups sometimes run bring-and-take craft supply mornings. You take a kit you no longer want and come home with something that sparks a bit of curiosity. If there is nothing near you, a small swap with friends works just as well: everyone brings one unloved craft item and leaves with a different one.
Freegle, Freecycle and Olio are also useful for passing on supplies locally. Be clear about what is included, whether it is opened, and whether any pieces are missing. Schools, nurseries, Scout and Guide groups, and community art groups may welcome clean craft materials, but always ask first. A surprise bag of glitter is not every group's dream.
For larger or more specialist supplies, look up your nearest scrapstore or creative reuse centre. They are brilliant at finding homes for oddments that a charity shop might not know what to do with. Pack everything sensibly, label the box, and be honest about condition. Passing something on is much easier when the next person knows what they are getting.
Option four: repurpose the supplies
If the kit itself is not worth passing on, the materials might still be useful. Sort by type rather than by project: fabric scraps, yarn, buttons, paper, beads, ribbon, tools. Keep only what you can realistically use within the next year. A small box of buttons and ribbon is genuinely handy for gift wrap, mending and card-making. A bin bag of mystery foam shapes is less so.
This is also where the Handmade By You spirit comes in. The point of a craft stash is not to be impressive; it is to help you make things. If a supply is not helping, it is just clutter with a nice label. Keep the useful bits, release the rest, and let your shelf become a place where you can actually find the things you need.
A clear shelf is not a failure
When you retire a beginner craft kit, you are not quitting creativity. You are making a decision about time, space and attention. Maybe the next thing you try will be the one that sticks. Maybe you will discover that you prefer making in short bursts, or that you like the buying and gathering more than the making. All of that is useful to know.
So take the box down, give it a fair look, and choose a path. Finish it small, pause it with a date, pass it to someone who will use it, or keep the bits that still feel full of possibility. Then clear the shelf. There is room there for whatever you want to make next.